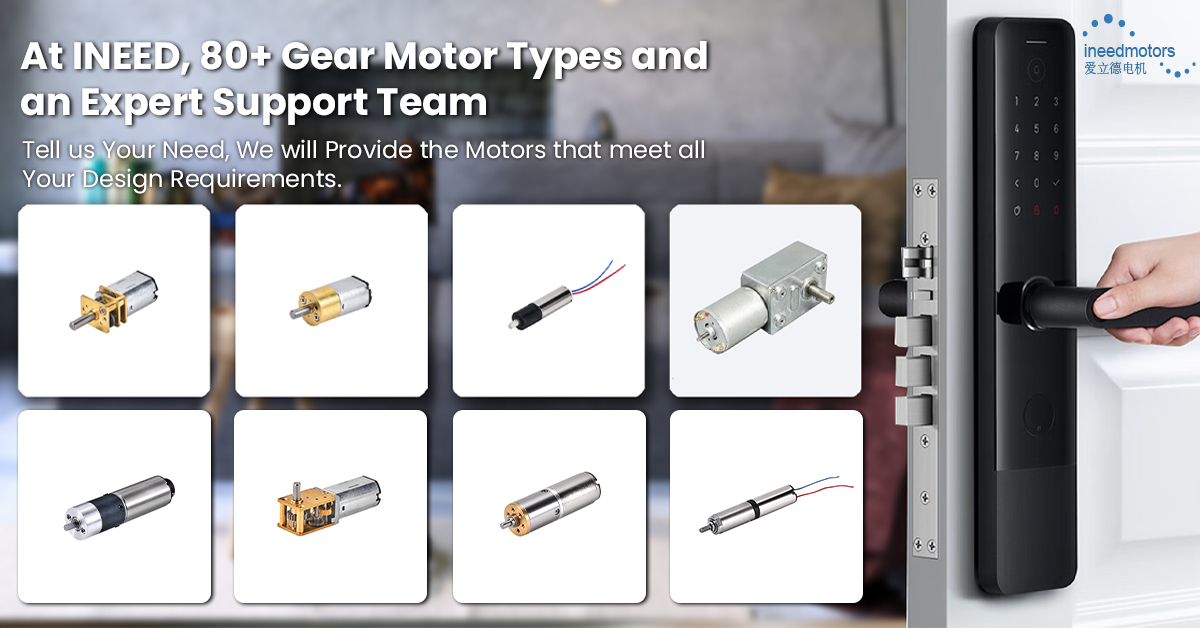
Choosing the best Right 5V Motor begins with understanding what your project needs. You should pick a motor that fits in your space. It must give you the performance you want. Gear ratios, torque, speed, and size are important for making the Right 5V Motor work well. These factors help the motor last longer and use less energy. Here are some tips for different uses:
Robotics projects need a Right 5V Motor with good speed. They also need strong torque and exact control.
Home automation systems need a Right 5V Motor that is quiet. They also need to save energy.
Always look at the motor’s details. Make sure they match what your project needs.
Key Takeaways
Know what your project needs before picking a 5V motor. Think about size, torque, and speed so the motor works well.
Always make sure the gearmotor uses the right voltage. The correct voltage keeps it from getting too hot and helps it last longer.
Pick the best gear ratio for your motor. A higher ratio gives more torque. A lower ratio makes it go faster. Choose based on what your project needs.
Make sure the gearmotor’s torque matches your load. This helps it run smoothly and stops it from getting too hot or stuck.
Look at how well the gearmotor is made. Strong materials and smart design help it work better and last longer.
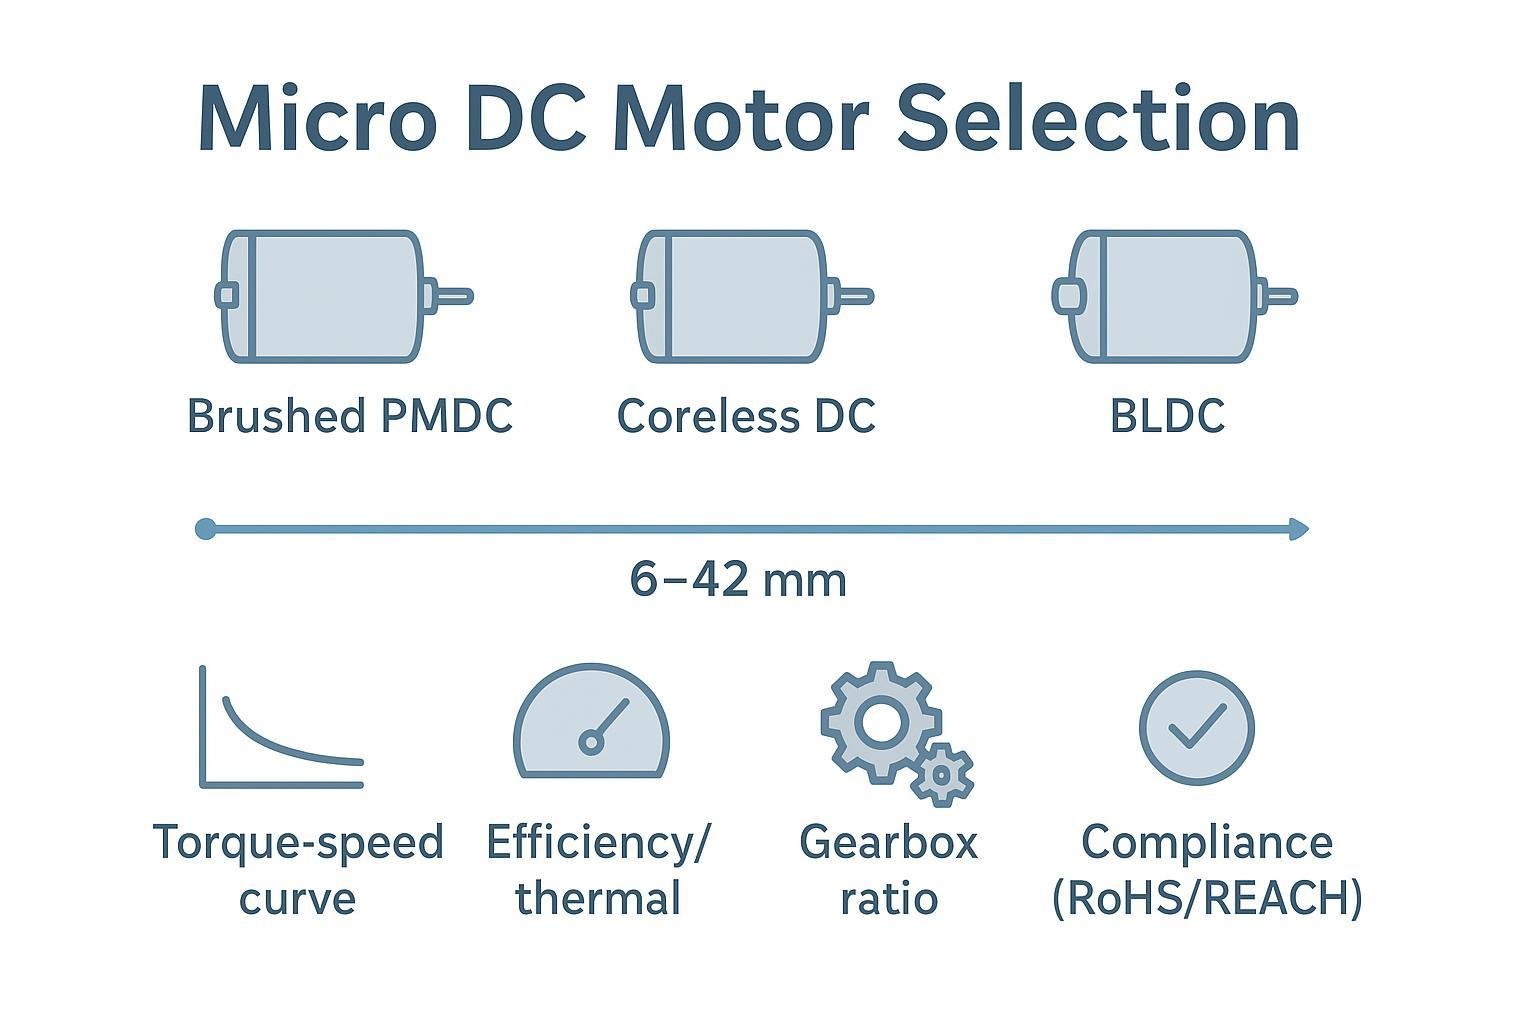
1. Voltage Compatibility
5V DC Motor Requirements
When you choose a 5v dc motor, check the voltage first. Each gearmotor works best with a certain voltage range. Using the wrong voltage can make your gearmotor stop working or break early. Most gear motor models for 5 volts need steady power to work well. Always match your gearmotor’s voltage needs to your power source. If you use less voltage, your 5v dc motor will use more current. This can make it get too hot and hurt the gearmotor. Too much heat is a main reason gear motor insulation fails. About 55% of failures happen because of high heat. Sudden changes in voltage and uneven voltage also harm your gearmotor. These problems can damage insulation and cause short circuits.
Tip: Always read the label or datasheet for your gearmotor. It shows the voltage needs and helps you avoid mistakes.
Power Supply Checks
You need a power supply that gives your 5v dc motor steady voltage and enough current. Not every power supply works the same way. Some are better for gearmotor projects. Here is a quick look at good choices:
Power Supply Type | Key Features | Reliability Aspects |
|---|---|---|
AC-DC DIN Rail | Quick to install, steady voltage | Very stable voltage, small size |
Enclosed Power Supplies | Metal case, keeps cool | Strong, gives reliable power |
Open Frame AC-DC | Easy to fit, steady power | Good for custom gearmotor builds |
DC-DC Power Module | Saves energy, works with many inputs | Great for built-in gearmotor systems |
POL DC-DC Converter | Controls voltage at the load | Accurate and fast response |
AC/DC Power Supplies | Stops too much voltage and short circuits | Protects gearmotor from electric problems |
If you use a weak power supply, your 5v dc motor can get overloaded. This happens when the gearmotor tries to work with low voltage by using more current. That makes it get too hot and shortens its life. Always pick a power supply that matches your gearmotor’s voltage and current needs. Good power keeps your gearmotor working well and safe.
AC-DC DIN Rail Power Supplies fit in small spaces and noisy places.
Enclosed Power Supplies keep your gearmotor safe in hard conditions.
DC-DC Power Modules are great for built-in gearmotor projects.
Picking the right power supply for your 5v dc motor means fewer problems and longer gearmotor life. You get better results and less chance of failure.
2. Gear Ratio
Gearmotor Performance
When you look at a gearmotor, the gear ratio is one of the first things you should check. The gear ratio controls how your gearmotor handles speed and torque. If you want more force, you need a higher ratio. If you want your gearmotor to spin faster, you need a lower ratio. Here’s how changing the gear ratio affects your gearmotor’s speed and torque:
If you increase the ratio, your gearmotor gives you more torque but less speed.
If you decrease the ratio, your gearmotor spins faster but gives you less torque.
The gear ratio helps you balance speed and torque for your project.
You can see how important it is to pick the right gear ratio for your gearmotor. If you choose the wrong one, your gearmotor might not work the way you want.
Gear Ratio Selection
Picking the best gear ratio for your gearmotor depends on what you need. If you want your gearmotor to lift heavy things, you need more torque. If you want your gearmotor to move quickly, you need more speed. The right ratio helps your gearmotor run smoothly and saves energy. Take a look at this table to see how different ratios affect your gearmotor’s performance:
Aspect | Description |
|---|---|
Torque Amplification | Higher gear ratios increase torque output, great for gearmotor tasks needing more force. |
Speed Adjustment | Lower gear ratios give higher speed, while higher ratios slow down your gearmotor but boost torque. |
Energy Efficiency | The right gear ratio helps your gearmotor use less energy and work better. |
Power Transmission | A good ratio lets your gearmotor transfer power to the load without wasting energy. |
RPM and Load Management | The correct gear ratio helps your gearmotor handle RPMs and loads for top performance. |
Wear and Tear | If you pick the wrong ratio, your gearmotor can wear out faster and break sooner. |
Tip: Always match your gearmotor’s speed and torque to your project. If you need more power, go for a higher ratio. If you need more speed, choose a lower ratio. This way, your gearmotor will last longer and work better.
3. Motor Size
Sizing and Selecting a Gearmotor
When you start sizing and selecting a gearmotor, you need to think about how much space you have. The motor size matters a lot. If your gearmotor is too big, it will not fit. If it is too small, it may not give enough torque for your project. You want a gearmotor that matches your space and power needs. Sizing and selecting a gearmotor means you look at the size of your enclosure and the tasks you want the gearmotor to do.
Here are some things you should check when sizing and selecting a gearmotor:
Measure the space where you want to put the gearmotor.
Check the torque you need for your project.
Make sure the gearmotor can handle the load.
Look at the motor size and see if it fits with other parts.
Think about how much heat the gearmotor will make.
Tip: Always leave a little extra space around your gearmotor. This helps with heat dissipation and makes installation easier.
Motor Size & Fit
Getting the right motor size is not just about fitting the gearmotor into your project. You also need to think about installation and compatibility. Small enclosures can cause problems for your gearmotor. Heat can build up if there is not enough room. Dust can collect inside if the enclosure is sealed too tight. You want your gearmotor to “breathe” so it does not overheat.
Here is a quick list of common installation challenges with gearmotors in small spaces:
Heat dissipation issues because of limited space.
Need for proper spacing so the gearmotor does not get too hot.
Dust buildup from motor brushes in sealed environments.
A good enclosure protects your gearmotor from dust and heat. This is important when sizing and selecting a gearmotor for tight spaces. You want your gearmotor to last and work well. Always check the motor size before you buy. Make sure it fits and gives you the torque you need. Sizing and selecting a gearmotor is easy if you follow these steps. Your gearmotor will run smoothly and stay safe.
Motor Size | Torque Output | Space Needed | Best Use Case |
|---|---|---|---|
Small | Low | Minimal | Light loads, tight fit |
Medium | Medium | Moderate | General use, robotics |
Large | High | More | Heavy loads, open space |
Sizing and selecting a gearmotor helps you avoid problems. You get the right torque, the right fit, and a gearmotor that works for your project.
4. Torque Output
Torque Ratings
When you pick a gearmotor, you need to look at torque ratings first. Torque tells you how much force your gearmotor can deliver. If you choose a gearmotor with low torque, it may not move your load. High torque means your gearmotor can handle heavier tasks. You want to match the torque rating to your load requirements for optimal performance.
Here’s a quick look at torque ratings for common motor types:
Motor Type | Torque (Nm) | Rotational Speed |
|---|---|---|
Stepper Motor TPP11M | 0.13 | 140 rad/sec |
Synchronous Motor PA, PB | 0.055 – 0.0865 | 300 – 600 RPM |
Brushless Motor BLDC FDB SP2B | N/A | 15,000 RPM |
Brushed Motor BDC-N32 | 0.003 – 0.06 | N/A |
You can see that each gearmotor type has a different torque range. If your project needs more force, you should pick a gearmotor with a higher torque rating. Always check the datasheet for torque numbers before you buy.
Tip: If you want optimal performance, never guess the torque. Use the numbers to match your gearmotor to your load requirements.
Matching Torque to Load
You need to match your gearmotor’s torque output to your load requirements. If you use a gearmotor with too little torque, it will stall or overheat. Too much torque can waste energy and make your gearmotor run rough. For optimal performance, you should balance torque and load.
Here’s how you can match torque to load requirements:
List your project’s load requirements.
Check the torque rating of each gearmotor.
Pick a gearmotor that meets or slightly exceeds your load requirements.
Test your gearmotor under real conditions.
If you use a gearmotor with the right torque, you get smooth movement and optimal performance. Your gearmotor will last longer and work better. You also avoid problems like overheating or gearmotor failure.
Note: Always test your gearmotor with your actual load. This helps you see if the torque matches your load requirements.
A gearmotor with the right torque output gives you control and reliability. You get the best results when you match your gearmotor to your project’s load requirements. This step is key for optimal performance in any 5V motor-driven system.
5. Speed (RPM)
Motor Speed & Performance
When you pick a gearmotor, you need to think about speed. Speed tells you how fast your gearmotor spins. It affects how quickly your project moves or reacts. If you want your gearmotor to move something fast, you need higher speed. If you want more control or power, you may need lower speed. The right speed helps your gearmotor deliver the best performance.
You can check the speed rating on the gearmotor’s datasheet. This number is usually in RPM, which means revolutions per minute. A higher RPM means your gearmotor spins faster. A lower RPM means it spins slower but can give more torque. You should always match the speed to your project’s needs.
Tip: Always test your gearmotor at different speeds. This helps you see how speed changes the performance in real life.
RPM Selection
Choosing the right RPM for your gearmotor is important. You want your gearmotor to meet your gearmotor speed requirements. Here are some steps to help you pick the best speed:
List what your project needs to do. Does it need fast movement or slow, steady motion?
Check the gearmotor’s speed range. Make sure it matches your project.
Think about the load. Heavy loads may need lower speed for better performance.
Test the gearmotor with your actual setup.
Here’s a quick table to help you compare gearmotor speed options:
Gearmotor Speed (RPM) | Best For | Performance Impact |
|---|---|---|
30-60 | Heavy loads, high torque | Slow but strong |
100-200 | General use, robotics | Balanced performance |
300+ | Fast movement, light load | Quick but less torque |
You get the best performance when you match the gearmotor speed to your project. Always check the datasheet and test the gearmotor before you decide. The right speed keeps your gearmotor running smooth and helps your project work better.
6. Current Draw
Efficiency & Power Use
You want your gearmotor to work well and not waste power. Current draw shows how much electricity your gearmotor needs. If your gearmotor uses too much current, it wastes energy and gets hot. If it uses too little, it may not work right. Always look at the datasheet for the current rating before you choose a gearmotor.
Here are some easy tips for managing current draw:
Look at the current rating on the datasheet.
Try your gearmotor with your real load.
Pick a power supply that fits your gearmotor’s needs.
Watch for overheating or weak movement.
A gearmotor that uses the right current will last longer and work better. You save energy and avoid gearmotor problems. If you want your gearmotor to be efficient, match the current draw to your project’s needs.
Tip: If your gearmotor gets hot or slows down, check the current draw. This helps you find problems early.
Avoiding Overload
You need to keep your gearmotor safe from too much current. Too much current can hurt your gearmotor and make it break sooner. Overload happens when your gearmotor tries to do more than it should. You can use special devices to protect your gearmotor.
Here is a table with two ways to stop overload in gearmotor circuits:
Method | Description |
|---|---|
Overload Relay | Watches current; shuts off gearmotor if current gets too high. |
Overload Protection Device | Uses relays or drives to keep gearmotors safe from sudden overloads. |
You can put in an overload relay to watch the current in your gearmotor. If the current gets too high, the relay turns off the gearmotor before it gets hurt. You can also use an overload protection device. This device keeps your gearmotor safe during big changes or heavy loads.
If you want your gearmotor to last, always use protection devices. You get better performance and fewer problems with your gearmotor. You also save money and time by avoiding repairs.
Note: Always test your gearmotor with your real setup. This helps you see if your protection devices work right.
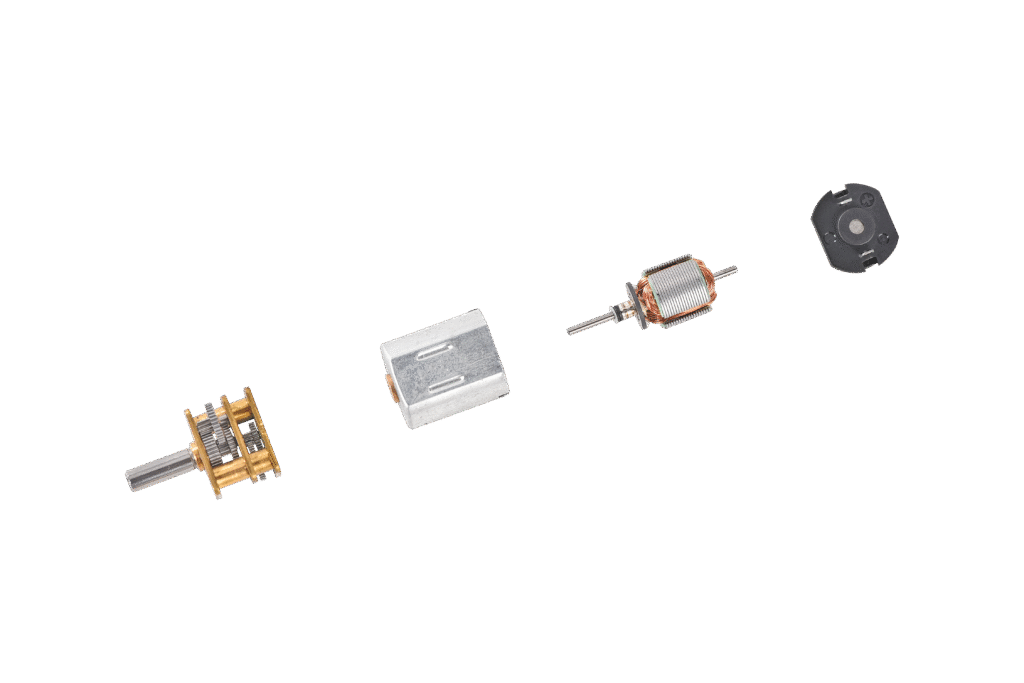
7. Shaft Type
Shaft Compatibility
When you choose a gearmotor, you need to check the shaft type. Not every gearmotor shaft will fit your project. Some gearmotor shafts are round, while others have a flat side or a D-shape. You might see gearmotor shafts with splines or keyways, too. Each type works best with certain couplings or gears. If you pick the wrong shaft, your gearmotor may slip or not connect at all.
You should always match the gearmotor shaft to the part you want to attach. For example, a round shaft works well with a clamp or a split collar. A D-shaft gives you a flat spot for set screws, which helps stop slipping. If you use a gearmotor with a keyway, you can add a key for extra grip. Before you buy, measure the shaft diameter and length. This step helps you avoid surprises during installation.
Tip: Always double-check the shaft size and shape before you order your gearmotor. This saves you time and trouble later.
Secure Connections
A secure connection keeps your gearmotor running smoothly. If the shaft slips, your gearmotor loses power and control. You want a strong link between your gearmotor and the part it drives. There are several ways to attach parts to a gearmotor shaft. Each method has pros and cons. Here’s a quick table to help you pick the best one for your gearmotor:
Attachment Method | Pros | Cons |
|---|---|---|
Clamps | Easy to use, effective, cost-effective, reliable | May not be suitable for all applications |
Industrial Adhesives | Low cost, reliable, high shear strength | Requires proper application for effectiveness |
Set Screws and Keys | Simple to implement | Poor choice for reliable automated machinery |
Pinning and Keyless Bushings | Can work in some applications | Higher cost, risk of machining |
Split Clamps | Cost-effective, reliable | May not be as strong as other methods |
You can use clamps for most gearmotor projects. They are easy and reliable. Industrial adhesives work well if you apply them right. Set screws and keys are simple, but they might not hold up in tough gearmotor jobs. Pinning and keyless bushings cost more, but sometimes you need them for special gearmotor setups. Split clamps give you a good grip and are easy to remove.
Note: Test your gearmotor connection before you run your project. A loose shaft can cause damage or make your gearmotor fail.
If you follow these tips, your gearmotor will stay secure and deliver the performance you need. Always pick the right shaft type and connection method for your gearmotor project.
8. Build Quality
Durability Factors
You want your gearmotor to last a long time. Build quality is very important for how well it works. If your gearmotor has strong parts, it breaks less often. You will not need to fix it as much. Some things help your gearmotor last longer:
Good bearings help your gearmotor run smooth and not break early.
Strong magnets keep your gearmotor working well.
Good windings let your gearmotor run for hours without getting too hot.
Well-made commutators and brushes lower friction and wear, so your gearmotor stays reliable.
If your gearmotor has these features, you fix it less. You also save money because you do not need repairs often.
Tip: Always check the specs for bearings, magnets, and windings before you buy a gearmotor. Better parts mean better performance.
Doing regular maintenance helps your gearmotor last even longer. You should install your gearmotor the right way. Keep it clean and make sure it stays cool. Lubricate the bearings to lower friction and spread the load. This stops your gearmotor from getting too hot or dirty. You can use thermal sensors or vibration checks to find problems early.
Reliable Gearmotor Materials
The materials in your gearmotor are very important. Some gearmotor models use all metal gears. Metal gears do not wear out fast and help your gearmotor last longer. If you need a gearmotor for hard jobs, metal gears are best.
Here is a table to compare gearmotor materials:
Material Type | Wear Resistance | Service Life | Best Use Case |
|---|---|---|---|
All Metal Gear | High | Long | Heavy-duty gearmotor |
Plastic Gear | Medium | Shorter | Light-duty gearmotor |
If you want your gearmotor to last, pick one with metal gears. Metal gears resist wear and have fewer problems. Always look for gearmotor models with strong materials when you need reliability.
Note: Proper installation and regular preventive maintenance, like cleaning and tightening connections, help your gearmotor stay in top shape.
You can keep your gearmotor working for years if you choose good parts and materials. Take care of your gearmotor, and it will help your project.
9. Noise & Vibration
User Experience
You want your gearmotor to be quiet. Too much noise can mess up your project. This is a big problem in things like laptops or smart devices. If your gearmotor is loud, people get distracted. Loud gearmotors can make people feel annoyed. You should think about how your gearmotor sounds and feels.
Some things change how noisy your gearmotor is:
Blade design: The shape and angle of blades matter. Good blades make less noise and keep things calm.
Motor quality: Better gearmotors shake and rattle less. Cheap gearmotors can get loud and shaky.
Air flow and pressure: If your gearmotor does not work right, it gets noisier.
Housing and mounting: Good design and mounting help stop noise and vibration.
Gearmotor-powered devices need to be quiet. You want low sound and smooth movement. This makes users happy and helps your gearmotor blend in.
Tip: Test your gearmotor in the real place. Listen for strange sounds and feel for shaking before you finish.
Reducing Disturbances
You can make your gearmotor quieter with smart design. Engineers use special tools to help gearmotors run smooth and quiet.
Here is a table with design features that help lower gearmotor noise and vibration:
Design Feature | Benefit |
|---|---|
Ansys simulation tools | Help find and fix gearmotor noise and vibration before building. |
Fast NVH spectrum results | Give quick feedback on gearmotor noise and vibration levels. |
Electromagnetic force optimization | Change magnetic fields to make gearmotors quieter. |
Structural response analysis | Find and avoid gearmotor shaking that causes vibration. |
Integrated workflow | Move force data to help design better gearmotors. |
You can use soft mounts or rubber pads to soak up vibration. Make sure your gearmotor is tight in its case. Check for loose screws or parts that might rattle. If you do these things, your gearmotor will run smooth and quiet.
Note: A quiet gearmotor makes your project look better and keeps users happy.
You need to pick the right 5v motor for your project. Looking at all nine features helps you choose a gearmotor that works well and lasts long. Most people care about reliability, so they check their gearmotor often. Cleaning, checking for shaking, and watching the temperature help keep it working.
Choose a 5v motor that fits your project’s size, torque, and speed needs.
Use a wiring diagram and check how much current is used to fix problems quickly.
Do not make mistakes like setting overloads wrong or forgetting gearmotor safety.
Begin with a good 5v motor, use these gearmotor tips, and your project will work well every time.
FAQ
What is a gearmotor and why should I use one?
A gearmotor combines a motor and gears in one unit. You get more torque and better control for your project. If you want simple installation and reliable movement, a gearmotor is a smart choice.
How do I pick the right gearmotor size for my project?
Measure your space first. Check how much torque you need. Choose a gearmotor that fits and gives enough power. If you pick a gearmotor that is too big or small, your project may not work well.
Can I use any power supply with my gearmotor?
No, you need a power supply that matches your gearmotor’s voltage and current needs. If you use the wrong supply, your gearmotor can overheat or stop working. Always check the datasheet before you connect anything.
Why does my gearmotor get hot during use?
Your gearmotor may get hot if it draws too much current or works with a heavy load. Make sure you use the right gearmotor for your project. Add cooling or lower the load if you see overheating.
How can I make my gearmotor run quieter?
Use soft mounts or rubber pads to reduce vibration. Pick a gearmotor with good build quality. Test your gearmotor in your setup and listen for noise. If you hear rattling, check for loose parts or change the mounting.